In this blog post, I will demonstrate how to set up Tomcat in Eclipse.
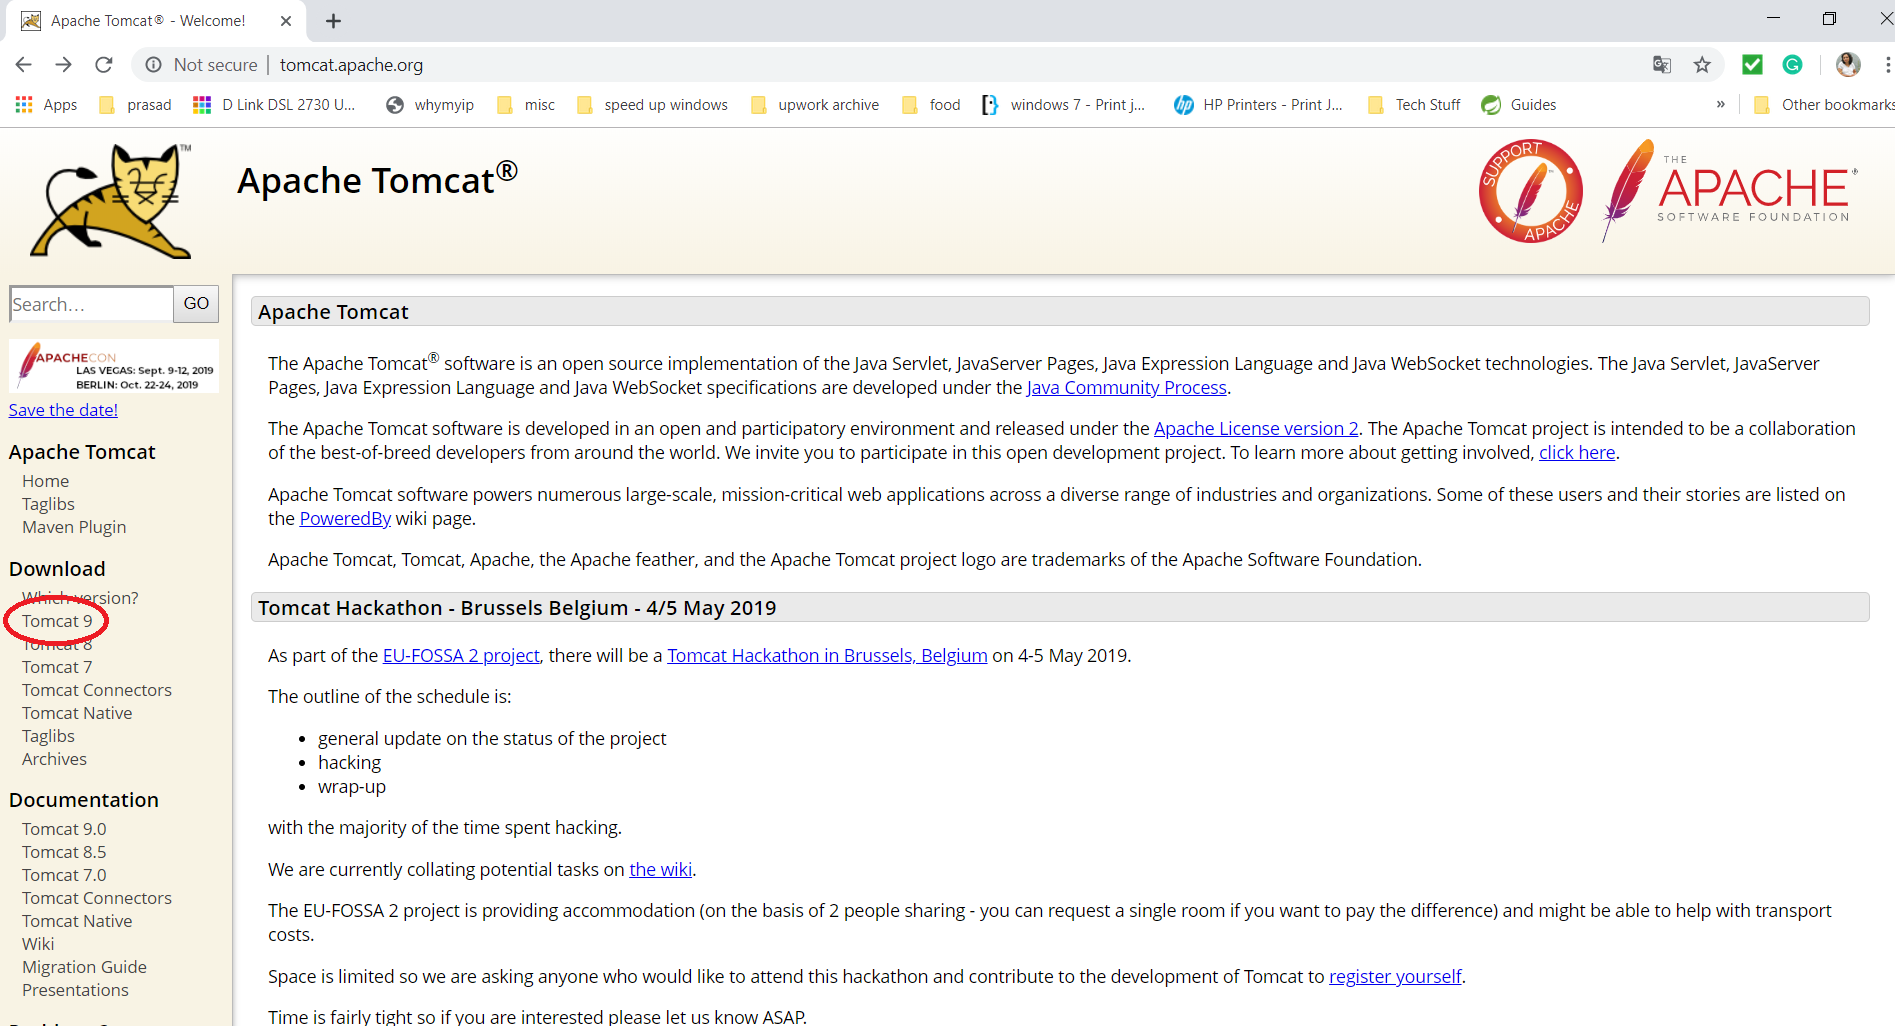
Step 1 - Visit Tomcat Site and select Tomcat 9
Go to the Tomcat site - http://tomcat.apache.org/. Click on Tomcat 9 in the left pane as shown below:
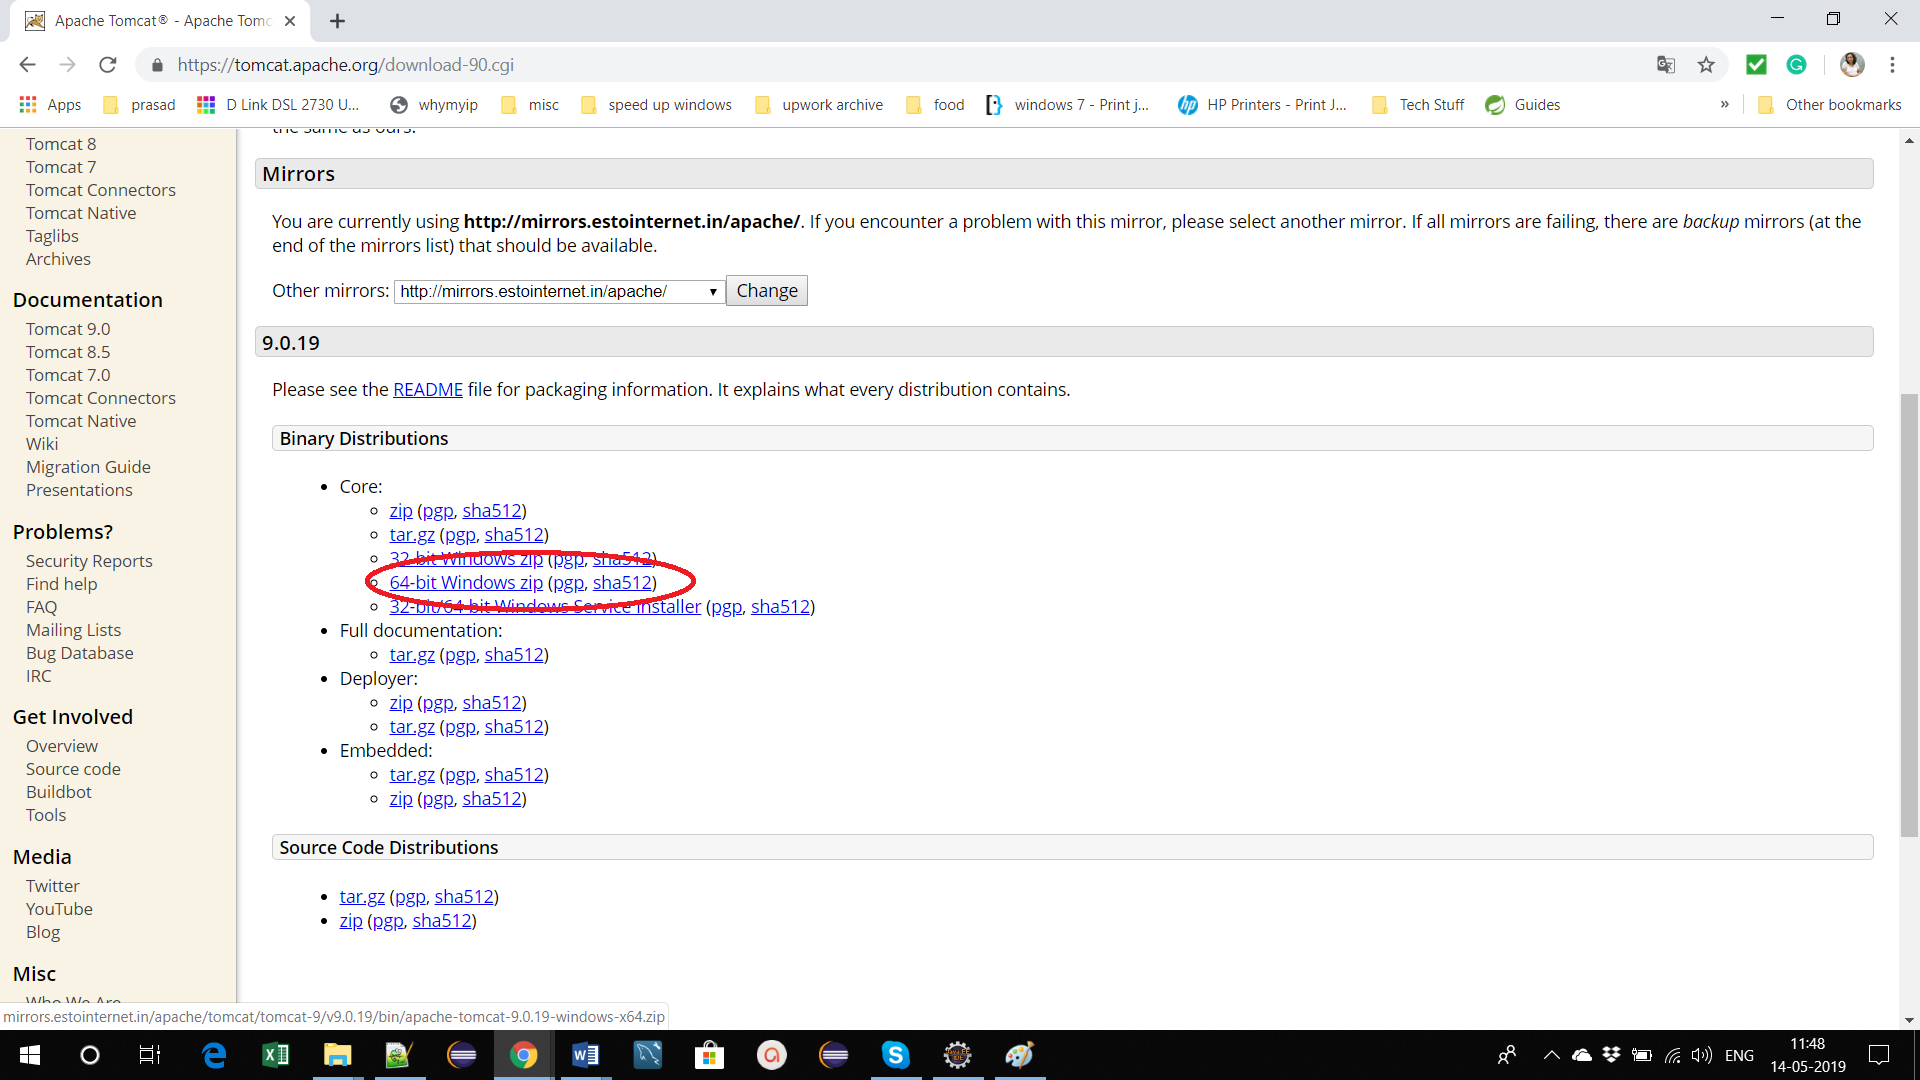
Step 2 - Download the appropriate version
I will be downloading the 64-bit windows version
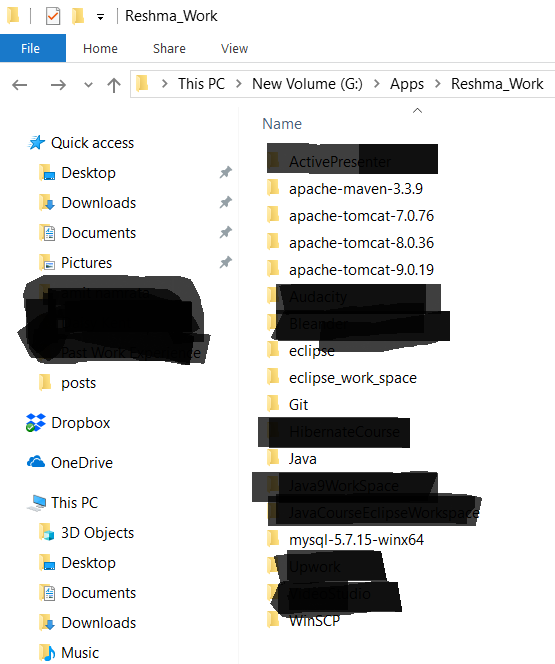
Step 3 - Extract the contents of the zip file to an appropriate folder
The zip file will contain a folder with the name as “apache-tomcat-9.0.19”. Copy this to an appropriate folder
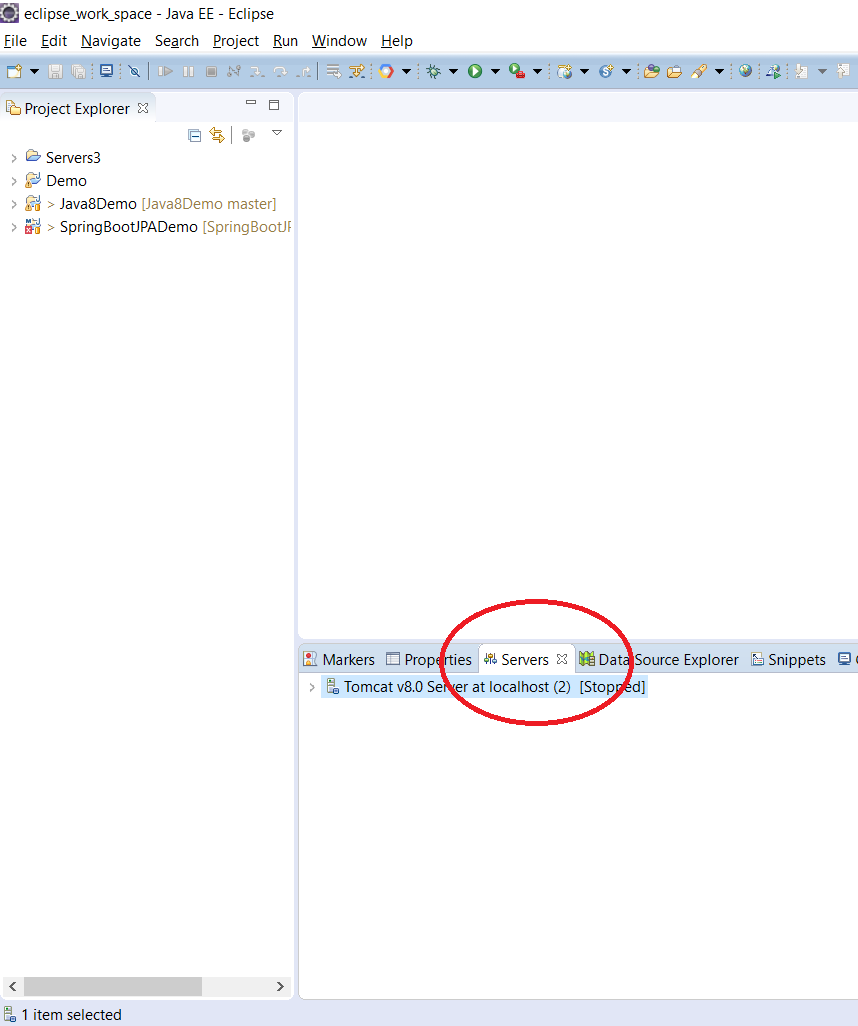
Step 4 - Open Eclipse. Go to servers tab
Step 7 - Right click –> New –> Server
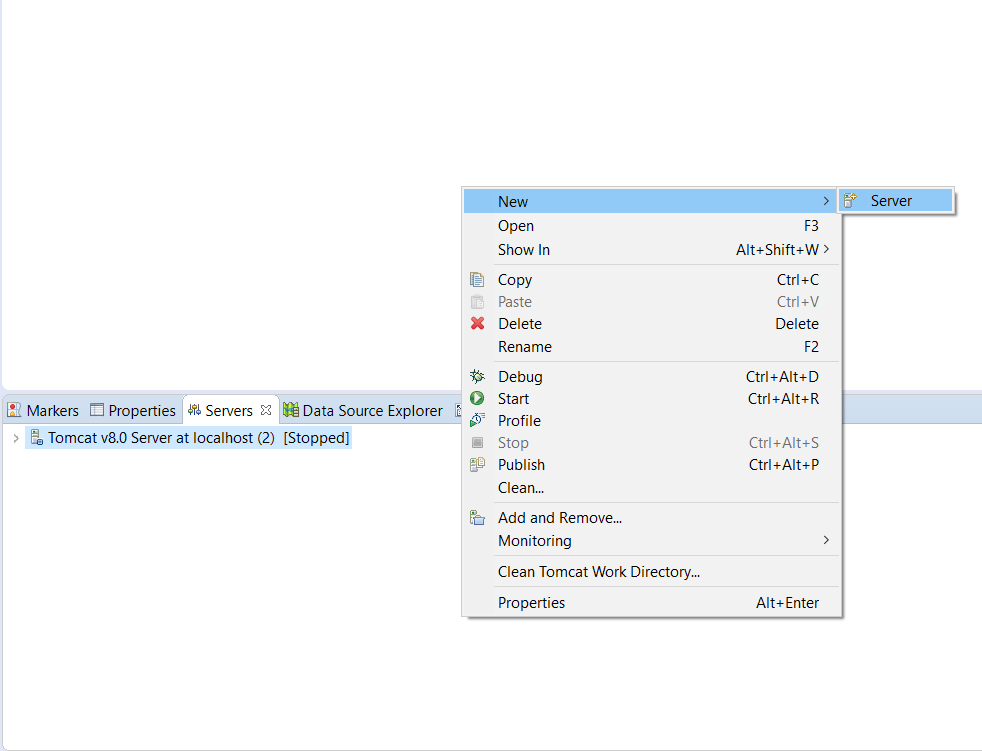
Step 8 - Select Tomcat 9.0 Server
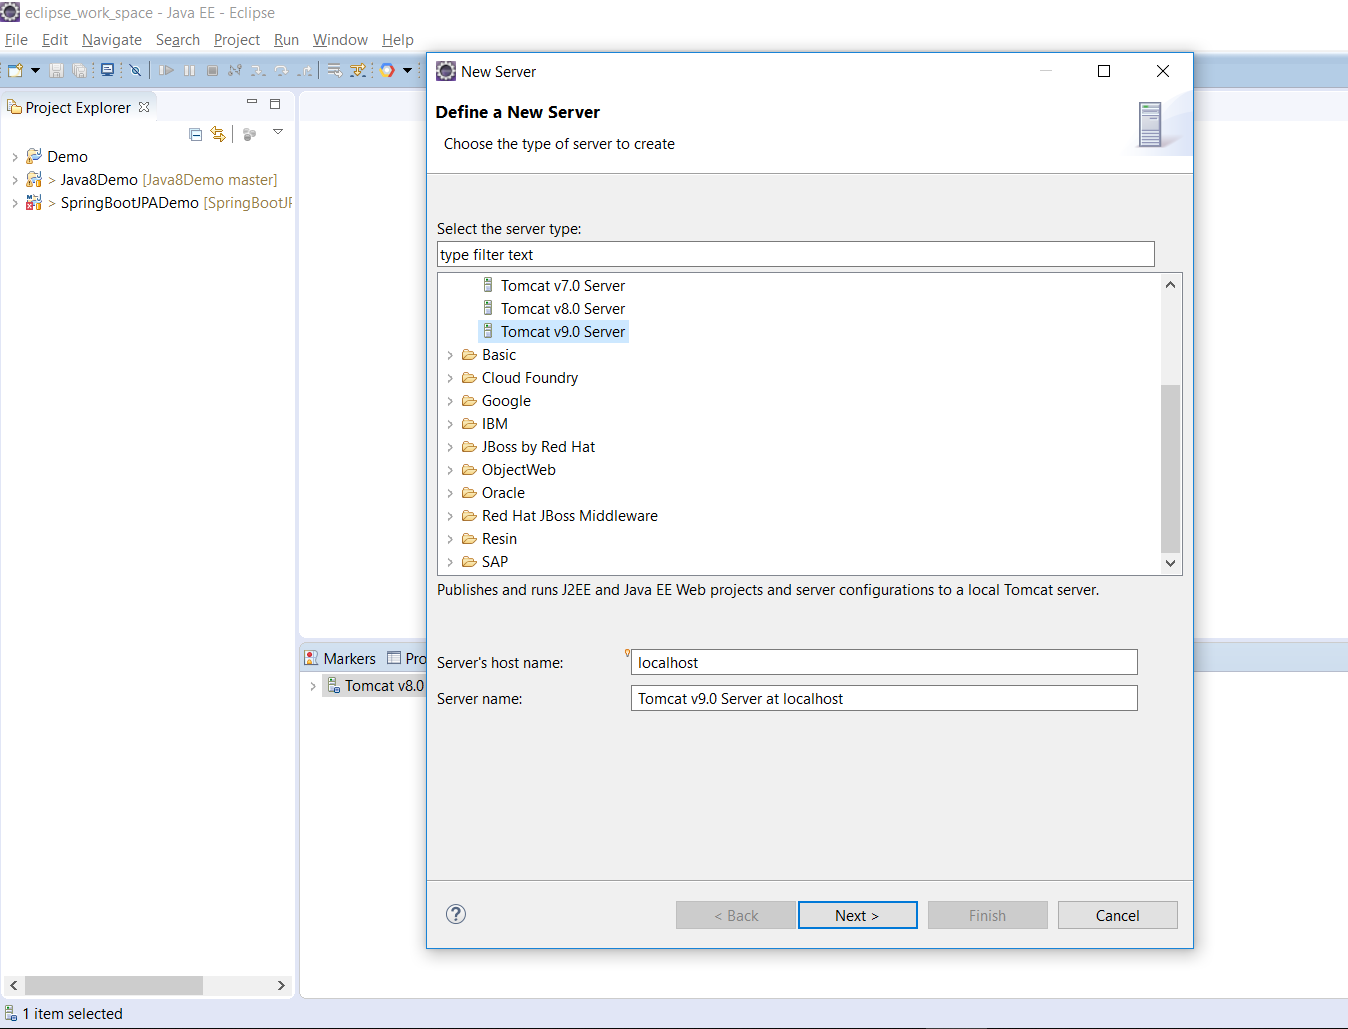
Step 9 - Click Next. Select Tomcat installation directory and JRE 1.8.
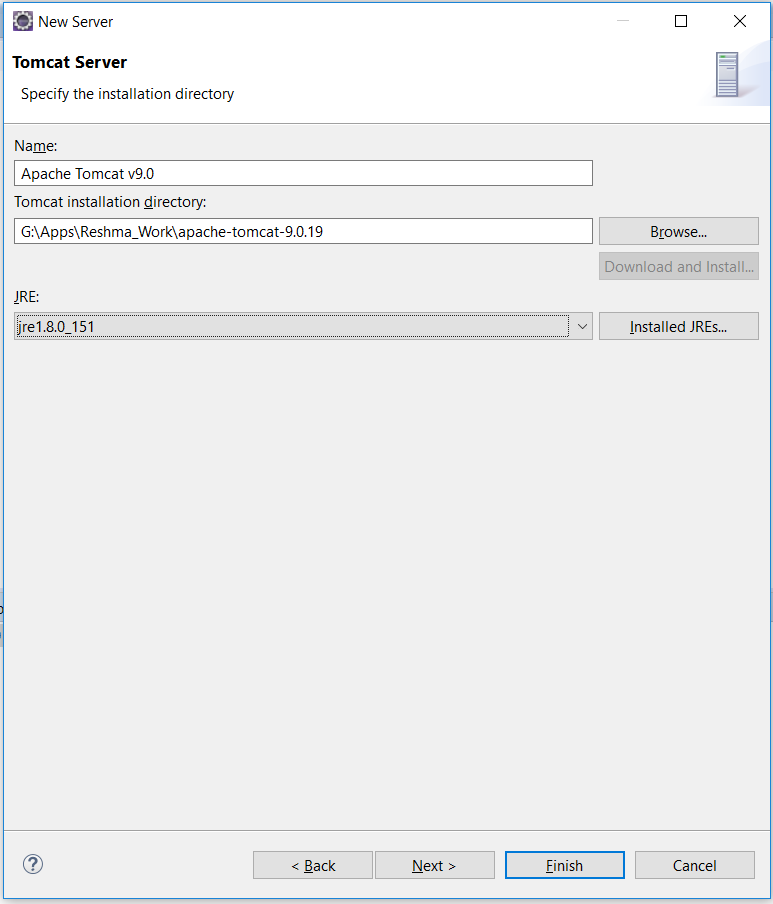
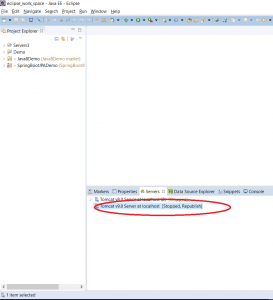
Step 10 - Click Finish
Further Reading