In this article, I will be demonstrating how to create a REST application via Spring using Maven and Eclipse.
Create a Project and And Maven Support
Step 1 - Follow the steps in this article to create a web project in Eclipse with Maven Support. You should see a project as follows:
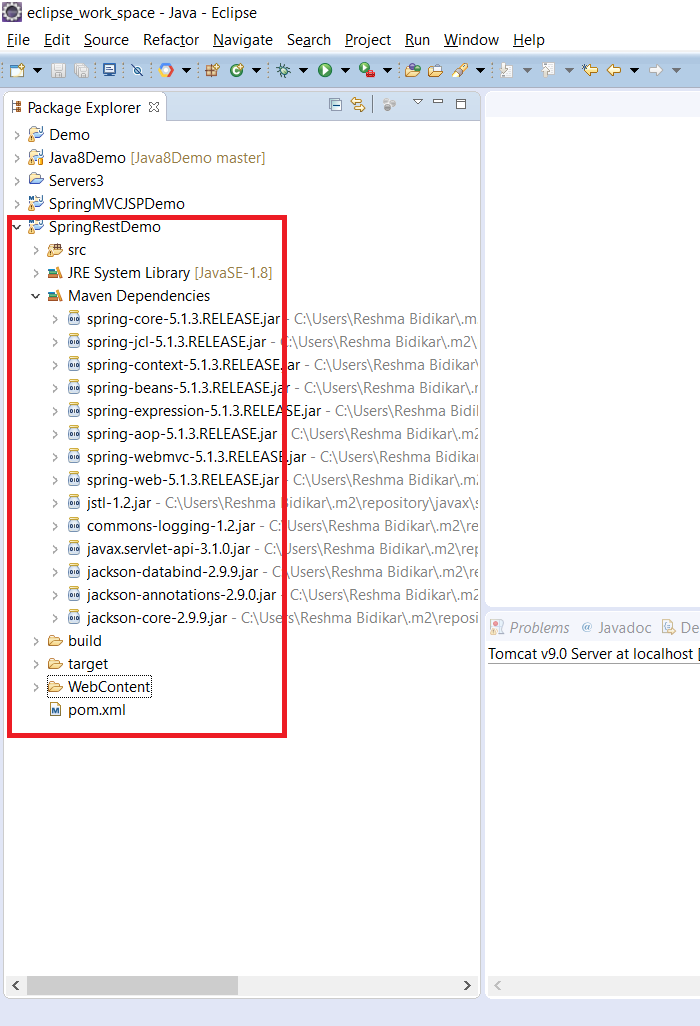
Step 2 - Add the Maven Dependencies for Spring to the pom file as follows:
<dependencies>
    <dependency>
      <groupId>org.springframework</groupId>
      <artifactId>spring-core</artifactId>
      <version>5.1.3.RELEASE</version>
    </dependency>
    <dependency>
      <groupId>org.springframework</groupId>
      <artifactId>spring-context</artifactId>
      <version>5.1.3.RELEASE</version>
    </dependency>
    <dependency>
      <groupId>org.springframework</groupId>
      <artifactId>spring-aop</artifactId>
      <version>5.1.3.RELEASE</version>
    </dependency>
    <dependency>
      <groupId>org.springframework</groupId>
      <artifactId>spring-webmvc</artifactId>
      <version>5.1.3.RELEASE</version>
    </dependency>
    <dependency>
      <groupId>org.springframework</groupId>
      <artifactId>spring-web</artifactId>
      <version>5.1.3.RELEASE</version>
    </dependency>
    <dependency>
      <groupId>javax.servlet</groupId>
      <artifactId>jstl</artifactId>
      <version>1.2</version>
    </dependency>
    <dependency>
      <groupId>commons-logging</groupId>
      <artifactId>commons-logging</artifactId>
      <version>1.2</version>
    </dependency>
    <dependency>
      <groupId>javax.servlet</groupId>
      <artifactId>javax.servlet-api</artifactId>
      <version>3.1.0</version>
      <scope>provided</scope>
    </dependency>
    <dependency>
      <groupId>com.fasterxml.jackson.core</groupId>
      <artifactId>jackson-databind</artifactId>
            <version>2.9.9</version>
        </dependency>
Note that in addition to the Spring dependencies, you also need to add the Jackson dependency.
Add Spring Configuration
Create a new file in WebContent/WEB-INF with the name as rest-servlet.xml. Add the following content:
<?xml version="1.0" encoding="UTF-8"?>
<beans xmlns="http://www.springframework.org/schema/beans"
  xmlns:mvc="http://www.springframework.org/schema/mvc"
  xmlns:context="http://www.springframework.org/schema/context"
  xmlns:xsi="http://www.w3.org/2001/XMLSchema-instance"
  xsi:schemaLocation="
        http://www.springframework.org/schema/beans
        http://www.springframework.org/schema/beans/spring-beans.xsd
        http://www.springframework.org/schema/mvc
        http://www.springframework.org/schema/mvc/spring-mvc.xsd
        http://www.springframework.org/schema/context
        http://www.springframework.org/schema/context/spring-context.xsd">

  <mvc:annotation-driven />
  <context:component-scan
    base-package="com.learnjava.controller" />
  <mvc:default-servlet-handler />


</beans>
Modify web.xml
In the WebContent/WEB-INF/web.xml file, add the following content:
<?xml version="1.0" encoding="UTF-8"?>
<web-app xmlns:xsi="http://www.w3.org/2001/XMLSchema-instance" xmlns="http://xmlns.jcp.org/xml/ns/javaee" xsi:schemaLocation="http://xmlns.jcp.org/xml/ns/javaee http://xmlns.jcp.org/xml/ns/javaee/web-app_3_1.xsd" version="3.1">
  <display-name>SpringRestDemo</display-name>
  <welcome-file-list>
    <welcome-file>index.html</welcome-file>
    <welcome-file>index.htm</welcome-file>
    <welcome-file>index.jsp</welcome-file>
    <welcome-file>default.html</welcome-file>
    <welcome-file>default.htm</welcome-file>
    <welcome-file>default.jsp</welcome-file>
  </welcome-file-list>
   <servlet>
        <servlet-name>rest</servlet-name>
        <servlet-class>
            org.springframework.web.servlet.DispatcherServlet
        </servlet-class>
        <load-on-startup>1</load-on-startup>
    </servlet>
    <servlet-mapping>
        <servlet-name>rest</servlet-name>
        <url-pattern>/*</url-pattern>
    </servlet-mapping>
</web-app>
Add Code
Create a new class in src called HelloWorldController. Add the following code:
package com.learnjava.controller;

import org.springframework.web.bind.annotation.RequestMapping;
import org.springframework.web.bind.annotation.RestController;

@RestController
public class HelloWorldController {

  @RequestMapping("/hello")
  public String helloWorld() {

    System.out.println("In HelloWorldController");
    String message = "Hello World";
    return message;
  }
}
Compile
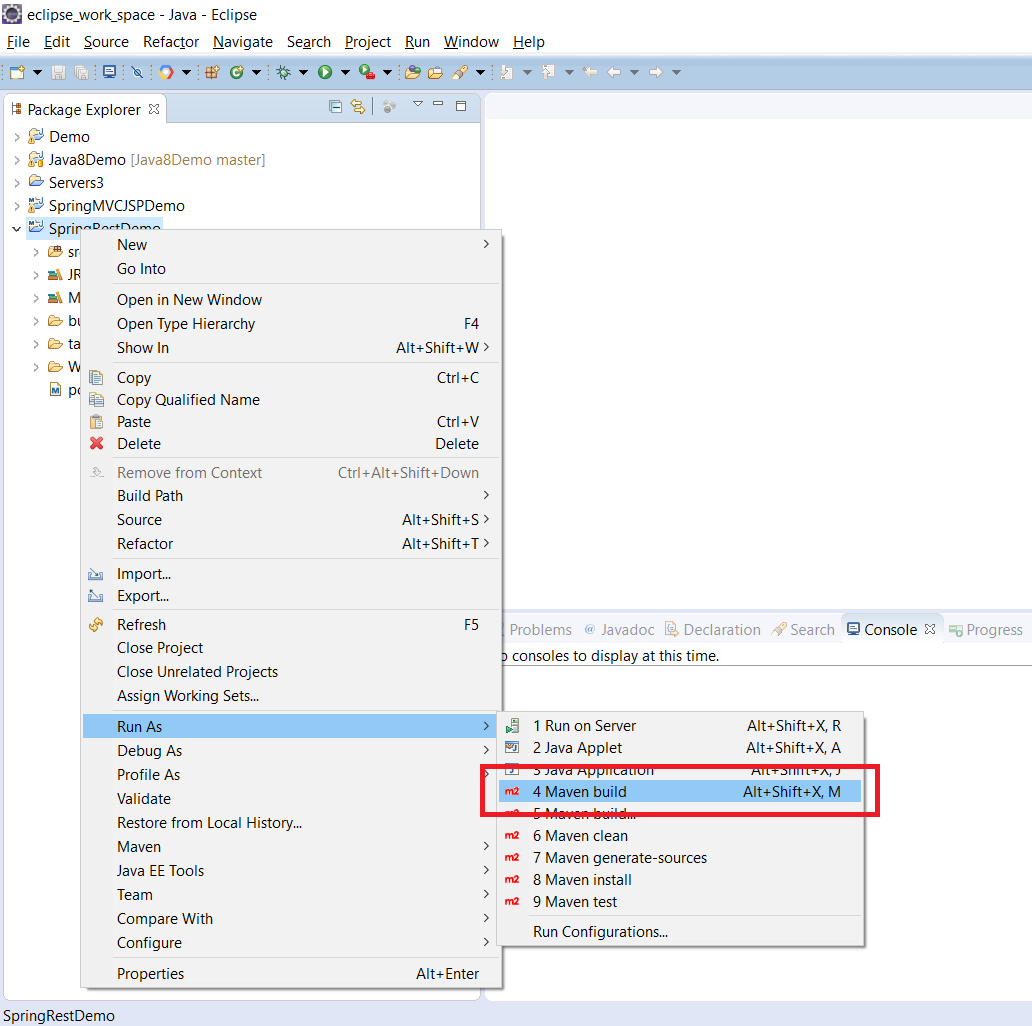
Step 1 - Right Click on Project –> Run As –> Maven Build
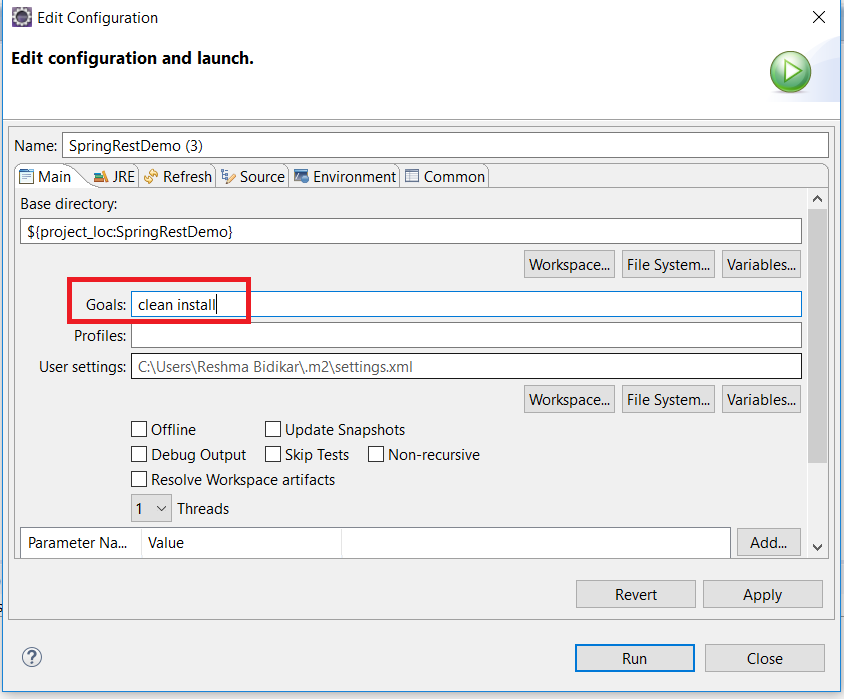
Step 2 - If prompted, enter the goals as Clean –> Install
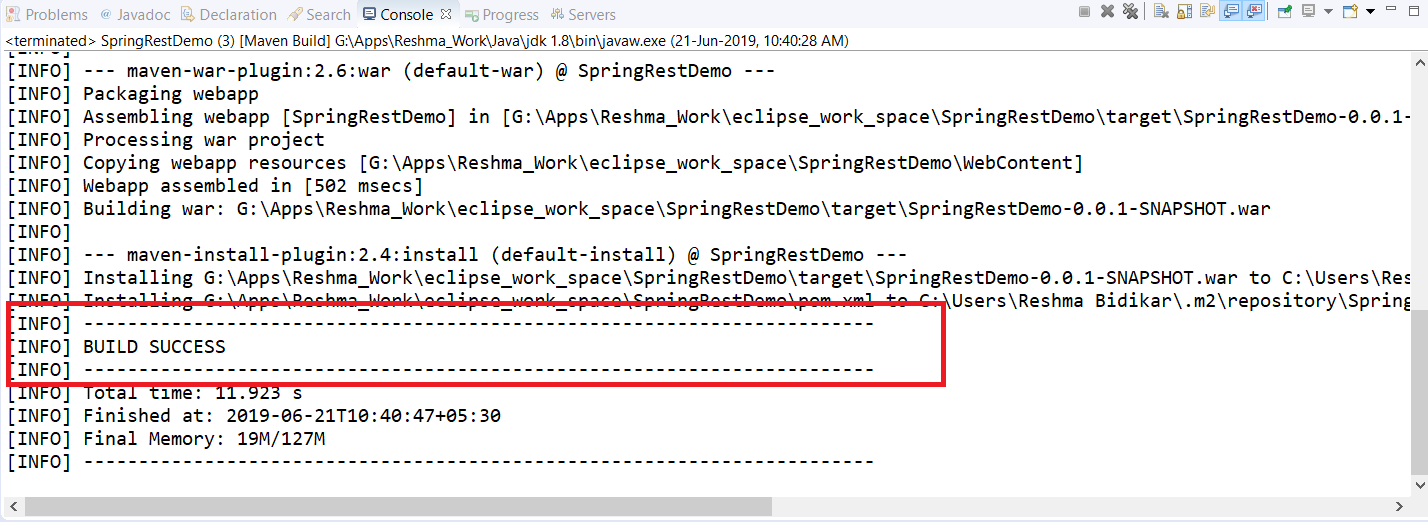
This will display a build success message as follows:
Deploy
Step 1 - Setup Tomcat in Eclipse if nor already setup. Refer to this blog post for detailed steps
Step 2 - Deploy your application to Tomcat. Refer to this blog post for detailed steps.
Test
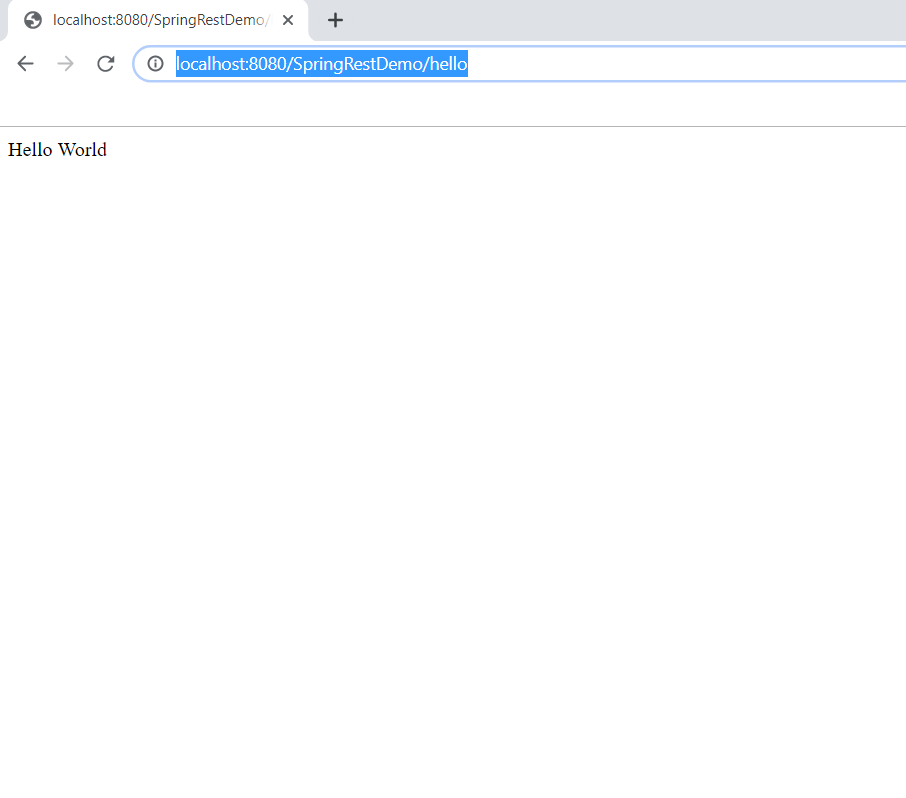
Testing Via Browser
Open a browser window and type the following URL:
http://localhost:8080/SpringRestDemo/hello
This will display the following:
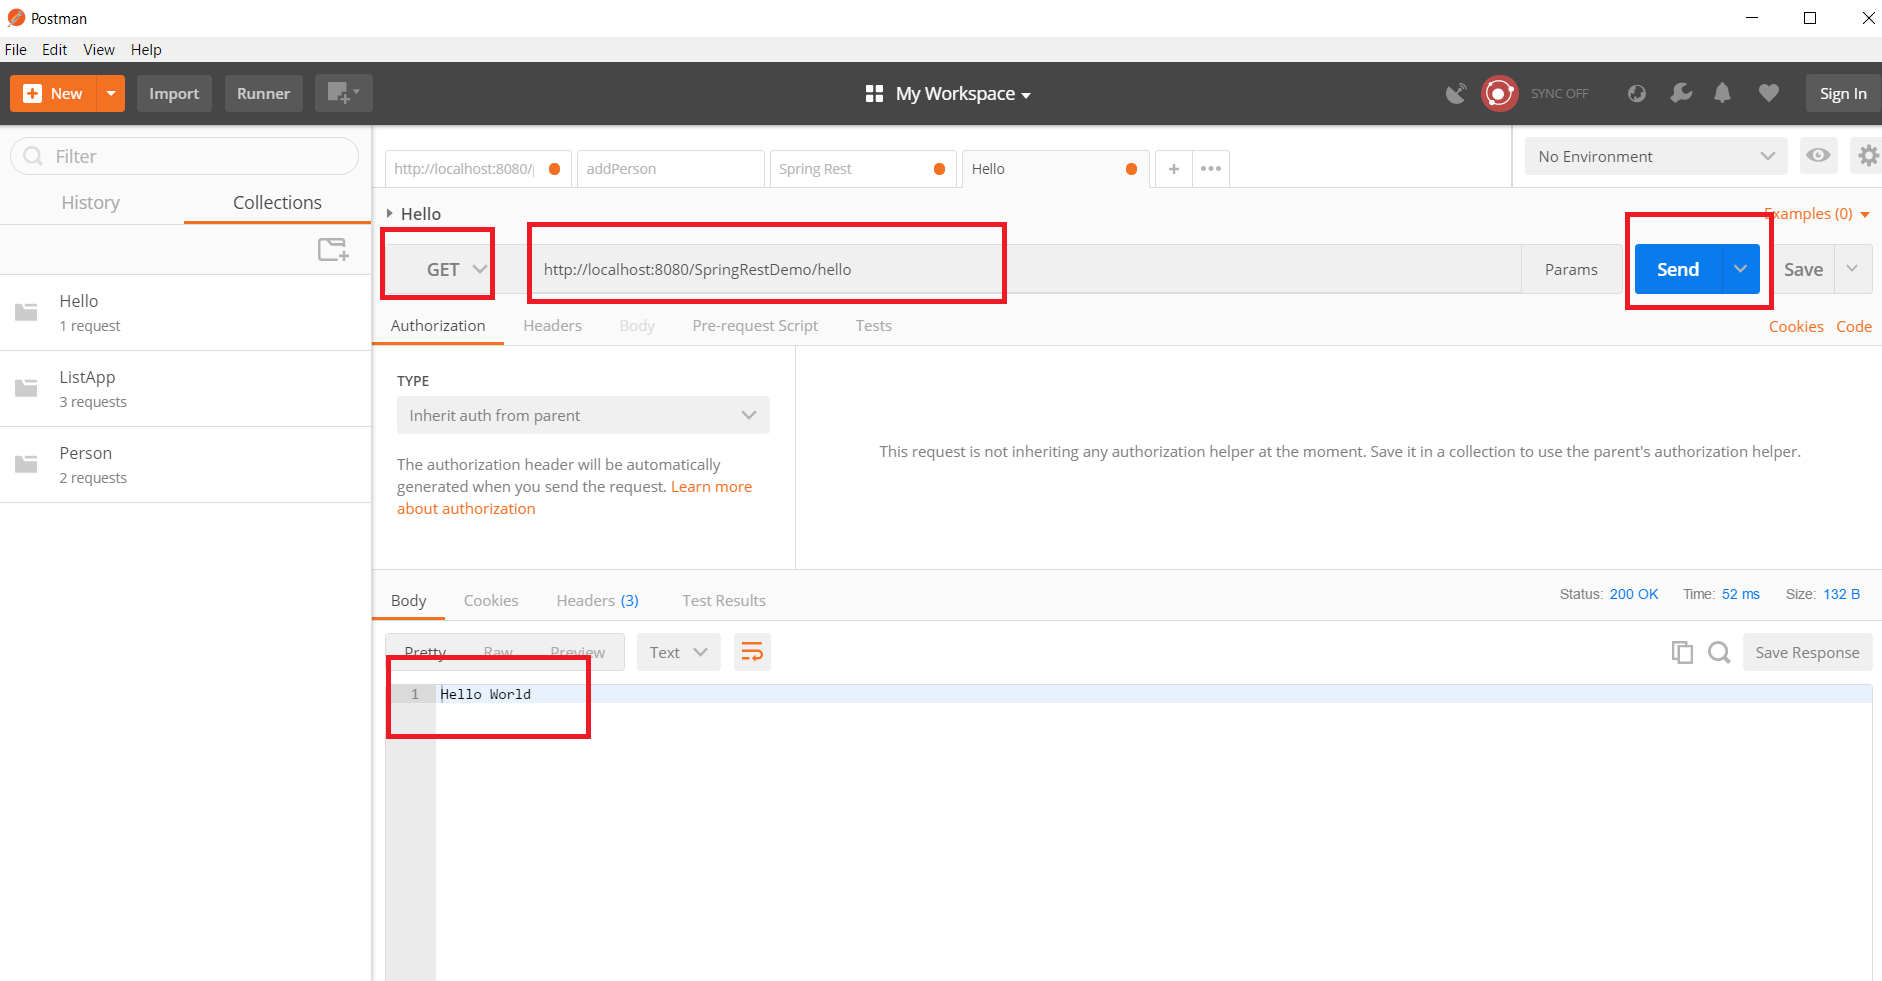
Testing Via Postman
Postman is a client-side application that allows you to test REST services easily. You can download Postman from the Postman website here. Once download is complete, you can click the desktop shortcut to launch Postman.
Start Postman. Click on “GET” request. Create a new Request.
- Select Request Type as “GET”
- Enter URL as “http://localhost:8080/SpringRestDemo/hello”
- Click on “Send”.
- This will show the “JSON” response sent by the server in the body below as follows
 You can download the source code for this project via the Github repository here.
Further Learning
Spring MasterClass Spring Tutorial For Beginners Step by Step Spring MVC Tutorial Spring Framework in Easy Steps
Conclusion
So this is how you can create a Spring REST project in Eclipse, deploy it on Tomcat and test via Postman.