In this blog post, I will be explaining how you can create a Spring MVC web application. In order to learn the Spring framework from scratch, you can enroll in this Spring Course.
Create a Project and And Maven Support
Step 1 - Follow the steps in this article to create a web project in Eclipse with Maven Support. You should see a project as follows:
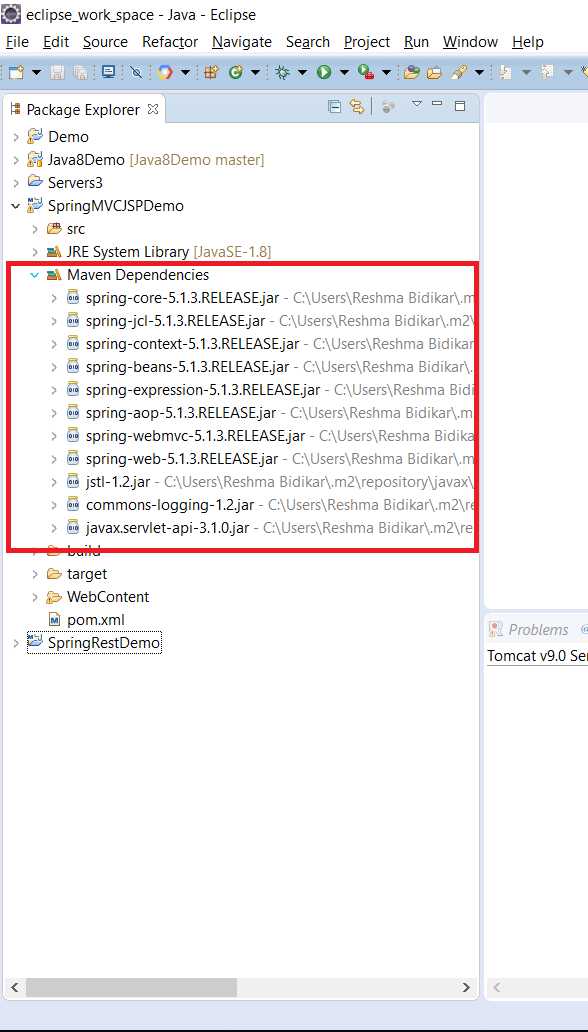
Step 2 - Add the Maven Dependencies for Spring to the pom file as follows:
<dependencies>
  <dependency>
    <groupId>org.springframework</groupId>
    <artifactId>spring-core</artifactId>
    <version>5.1.3.RELEASE</version>
  </dependency>
  <dependency>
    <groupId>org.springframework</groupId>
    <artifactId>spring-context</artifactId>
    <version>5.1.3.RELEASE</version>
  </dependency>
  <dependency>
    <groupId>org.springframework</groupId>
    <artifactId>spring-aop</artifactId>
    <version>5.1.3.RELEASE</version>
  </dependency>
  <dependency>
    <groupId>org.springframework</groupId>
    <artifactId>spring-webmvc</artifactId>
    <version>5.1.3.RELEASE</version>
  </dependency>
  <dependency>
    <groupId>org.springframework</groupId>
    <artifactId>spring-web</artifactId>
    <version>5.1.3.RELEASE</version>
  </dependency>
  <dependency>
    <groupId>javax.servlet</groupId>
    <artifactId>jstl</artifactId>
    <version>1.2</version>
  </dependency>

  <dependency>
    <groupId>commons-logging</groupId>
    <artifactId>commons-logging</artifactId>
    <version>1.2</version>
  </dependency>
  <dependency>
    <groupId>javax.servlet</groupId>
    <artifactId>javax.servlet-api</artifactId>
    <version>3.1.0</version>
    <scope>provided</scope>
  </dependency>

</dependencies>
Add Spring Configuration
Step 1 - Right-click on WebContent/WEB-INF –>New –> File
Step 2 - Type some name. The name should be of the format
Step 3 - Click “Finish”. This will create a file as follows:
Step 4 - Enter the following text and save:
<?xml version="1.0" encoding="UTF-8"?>
<beans xmlns="http://www.springframework.org/schema/beans"
  xmlns:mvc="http://www.springframework.org/schema/mvc"
  xmlns:context="http://www.springframework.org/schema/context"
  xmlns:xsi="http://www.w3.org/2001/XMLSchema-instance"
  xsi:schemaLocation="
        http://www.springframework.org/schema/beans
        http://www.springframework.org/schema/beans/spring-beans.xsd
        http://www.springframework.org/schema/mvc
        http://www.springframework.org/schema/mvc/spring-mvc.xsd
        http://www.springframework.org/schema/context
        http://www.springframework.org/schema/context/spring-context.xsd">

    <context:component-scan
    base-package="com.learnjava.controller" />
        <mvc:annotation-driven />
  <mvc:default-servlet-handler />

  <bean id="viewResolver"
    class="org.springframework.web.servlet.view.UrlBasedViewResolver">
    <property name="viewClass"
      value="org.springframework.web.servlet.view.JstlView" />
    <property name="prefix" value="/WEB-INF/jsp/" />
    <property name="suffix" value=".jsp" />
  </bean>

</beans>
Modify web.xml
Step 1 - Create web.xml (if it does not exist). Refer to this article
Step 2 - Update web.xml to include the Spring MVC Configuration. So add the following:
<servlet>
      <servlet-name>learnjava</servlet-name>
      <servlet-class>
          org.springframework.web.servlet.DispatcherServlet
      </servlet-class>
      <load-on-startup>1</load-on-startup>
  </servlet>
  <servlet-mapping>
      <servlet-name>learnjava</servlet-name>
      <url-pattern>/</url-pattern>
  </servlet-mapping>
Add Code
Step 1 - Create a new controller class in src folder as follows:
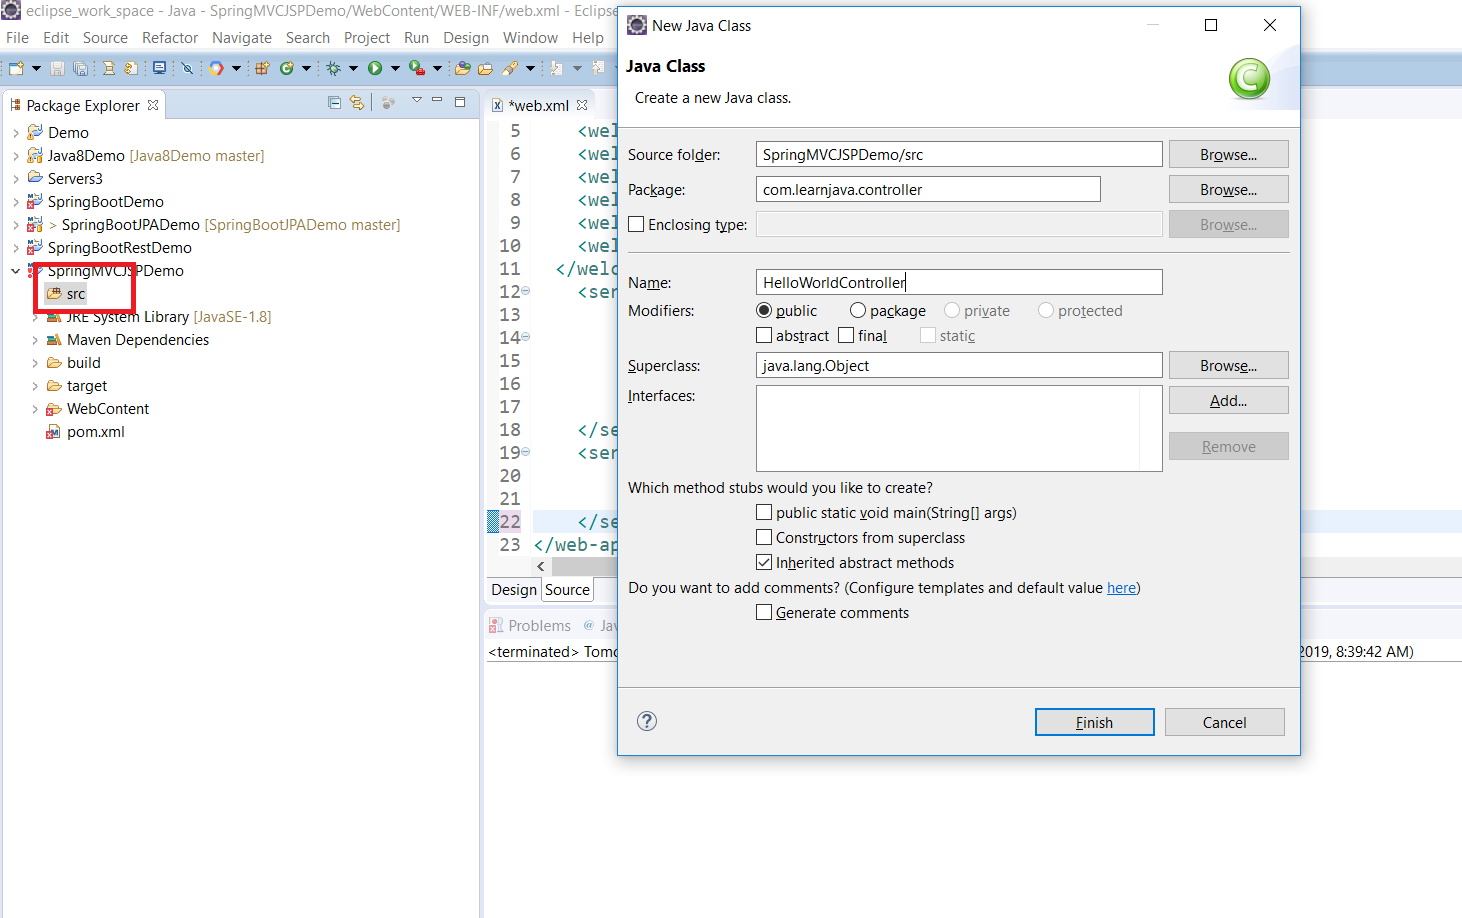
Step 2 - Add the following code:
package com.learnjava.controller;

import org.springframework.stereotype.Controller;
import org.springframework.web.bind.annotation.RequestMapping;
import org.springframework.web.servlet.ModelAndView;

@Controller
public class HelloWorldController {

  @RequestMapping("/hello")
  public ModelAndView helloWorld() {

    System.out.println("In HelloWorldController");
    String message = "<br><div style='text-align:center;'>"
        + "<h1>Hello World</h1></div><br><br>";
    return new ModelAndView("hello", "message", message);
  }
}
Step 3 - Create the WEB-INF/jsp folder as follows:
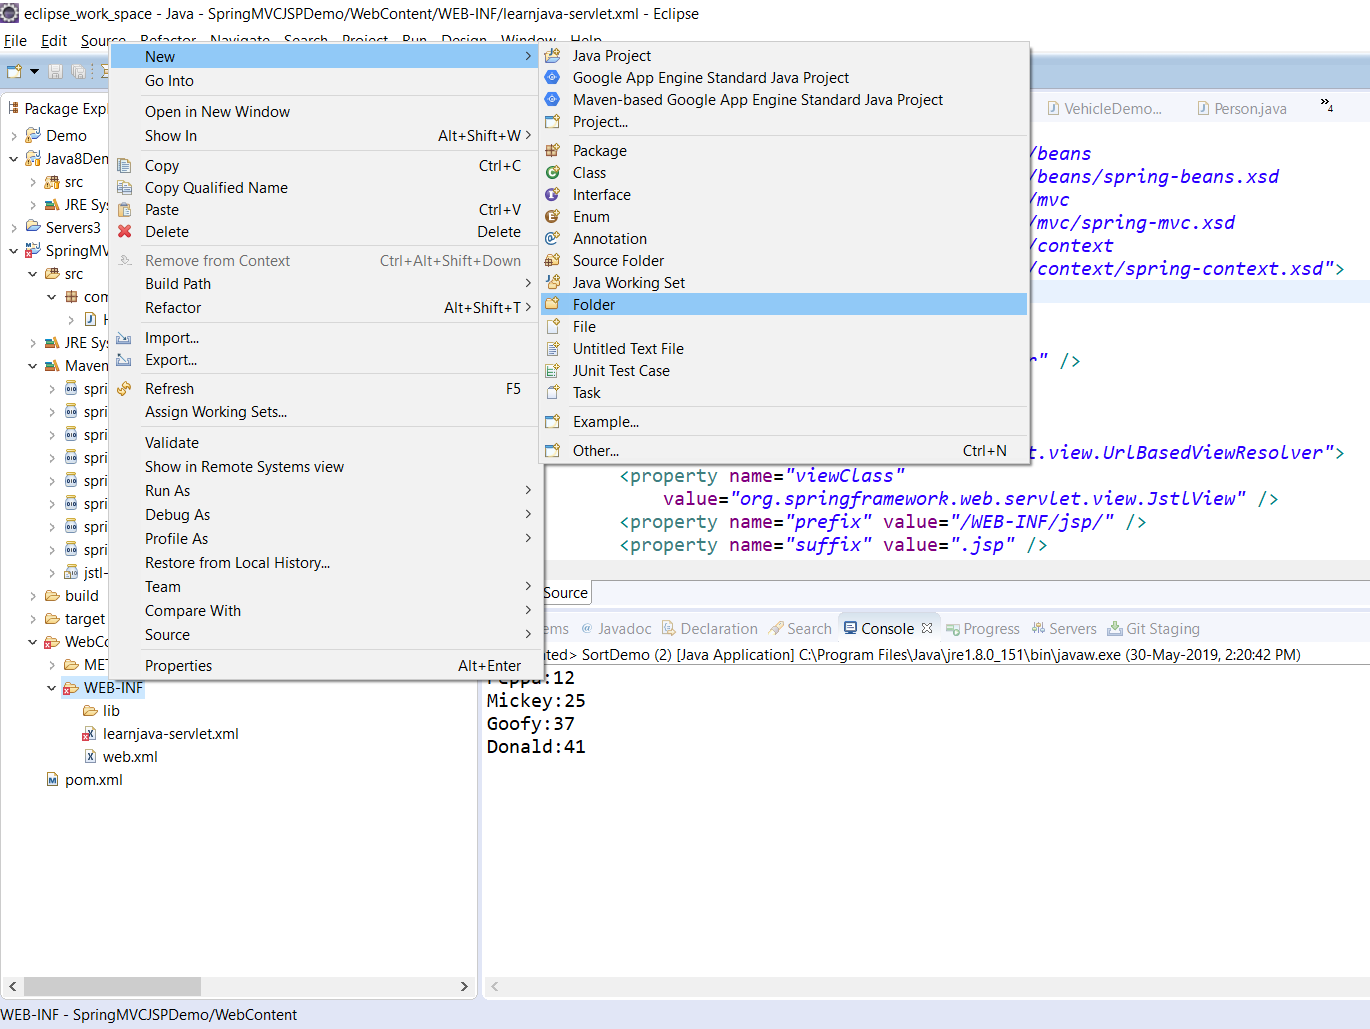
Step 3 - Enter folder name as “jsp”
Step 4 - Create hello.jsp

Step 5 - Add the following code:
<html>
<head>LearnJava SpringMVC Example</title>

</head>
<body>${message}

  <br>
  <br>
  <div
    style="font-family: verdana; padding: 10px; border-radius: 10px; font-size: 12px; text-align: center;">

    Visit <a href="https://learnjava.co.in">LearnJava</a> to learn more Java stuff!!.

  </div>
</body>
</html>
Compile
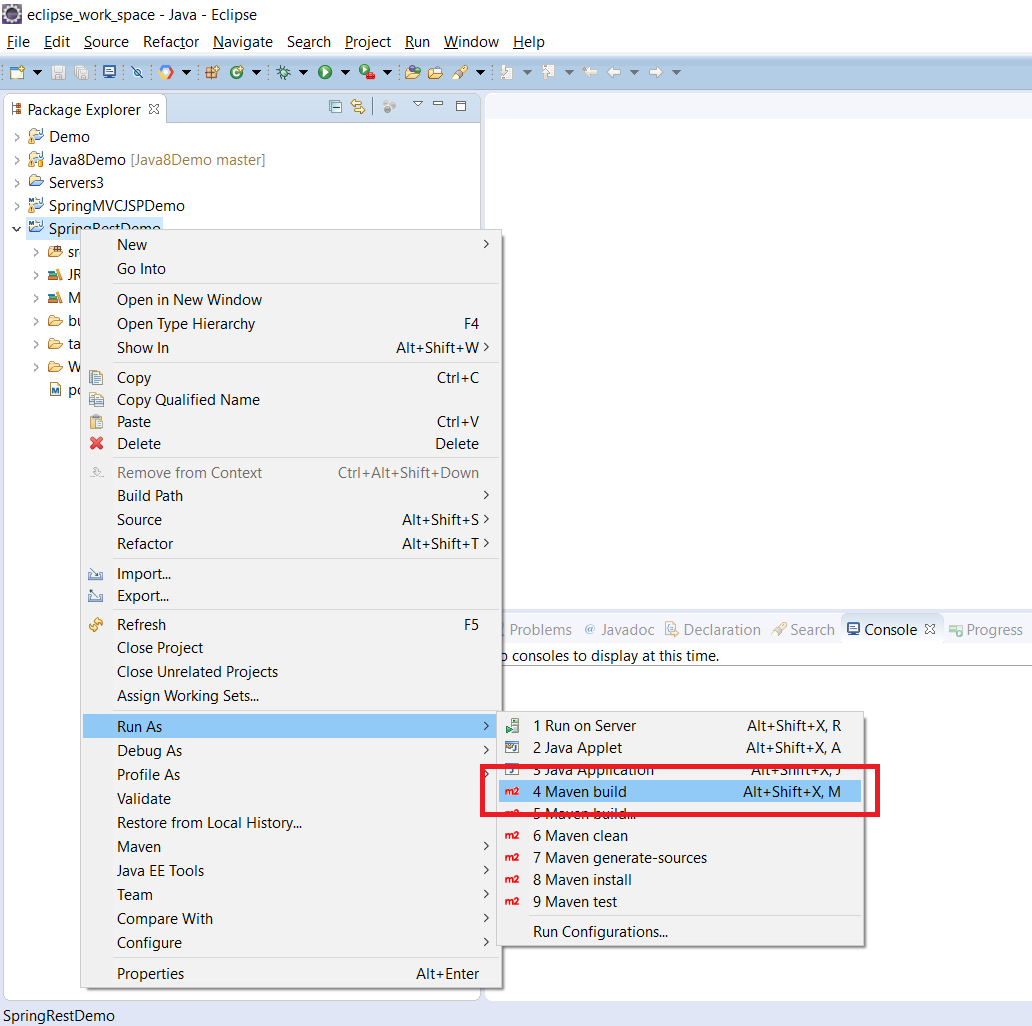
Step 1 - Right Click on Project –> Run As –> Maven Build
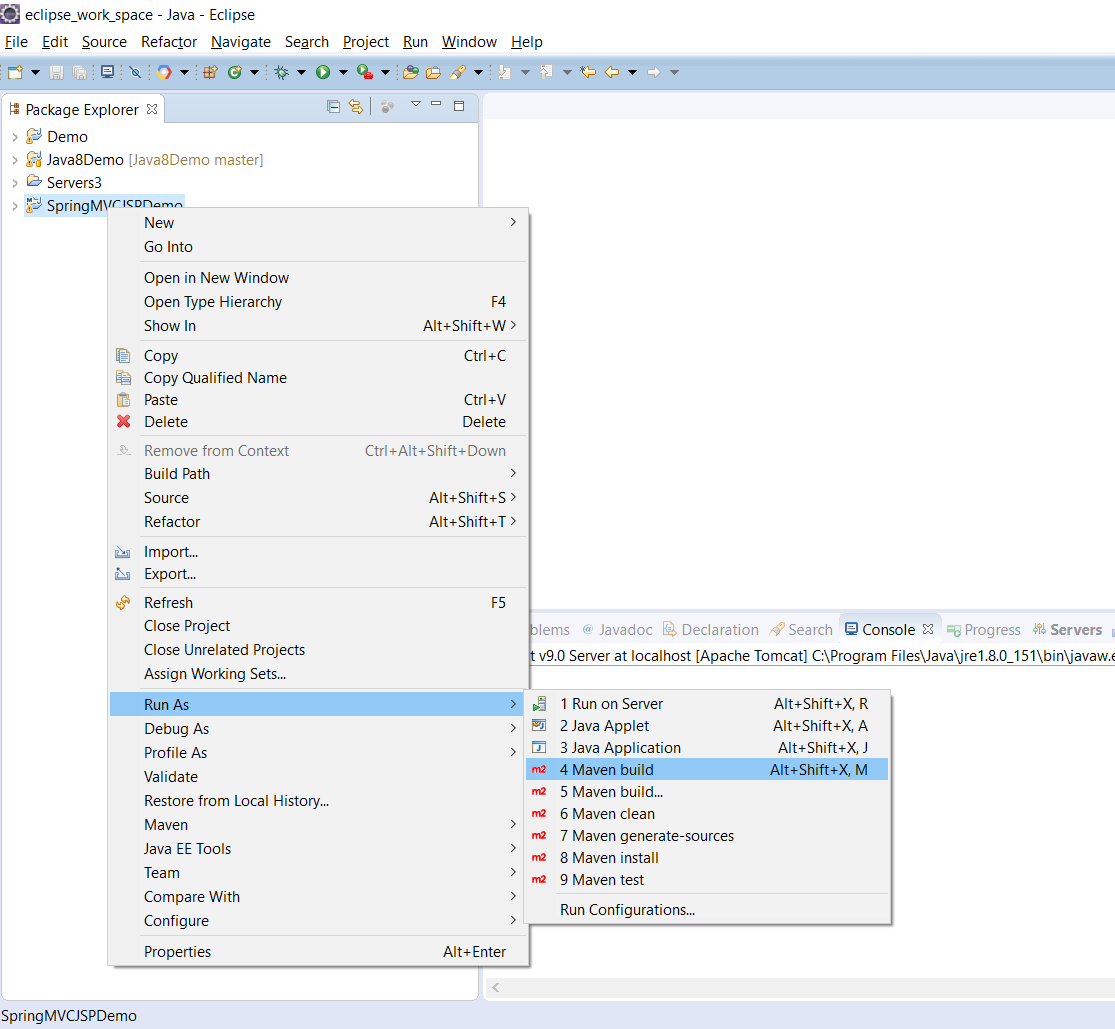
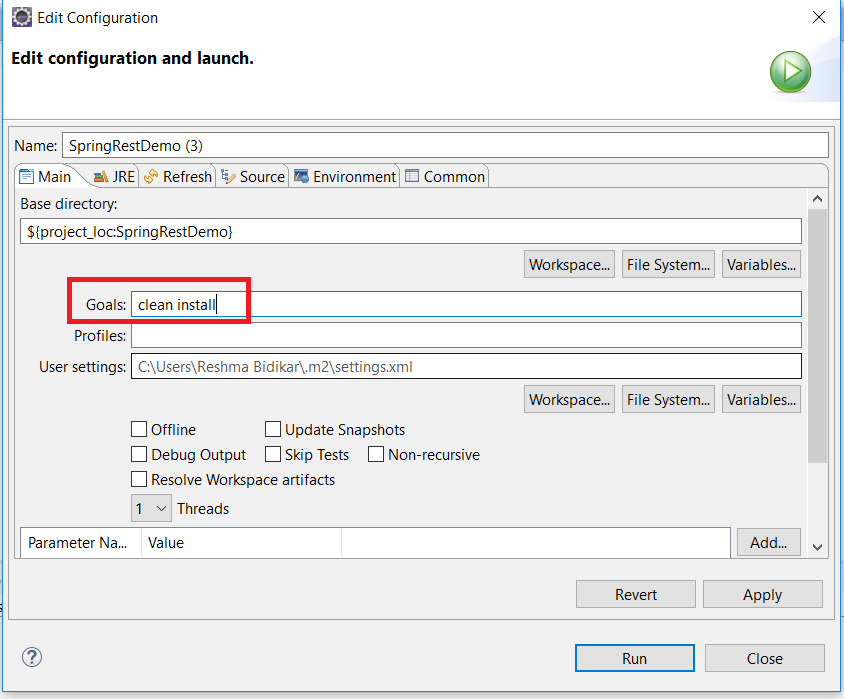
Step 2 - If prompted, enter the goals as Clean –> Install
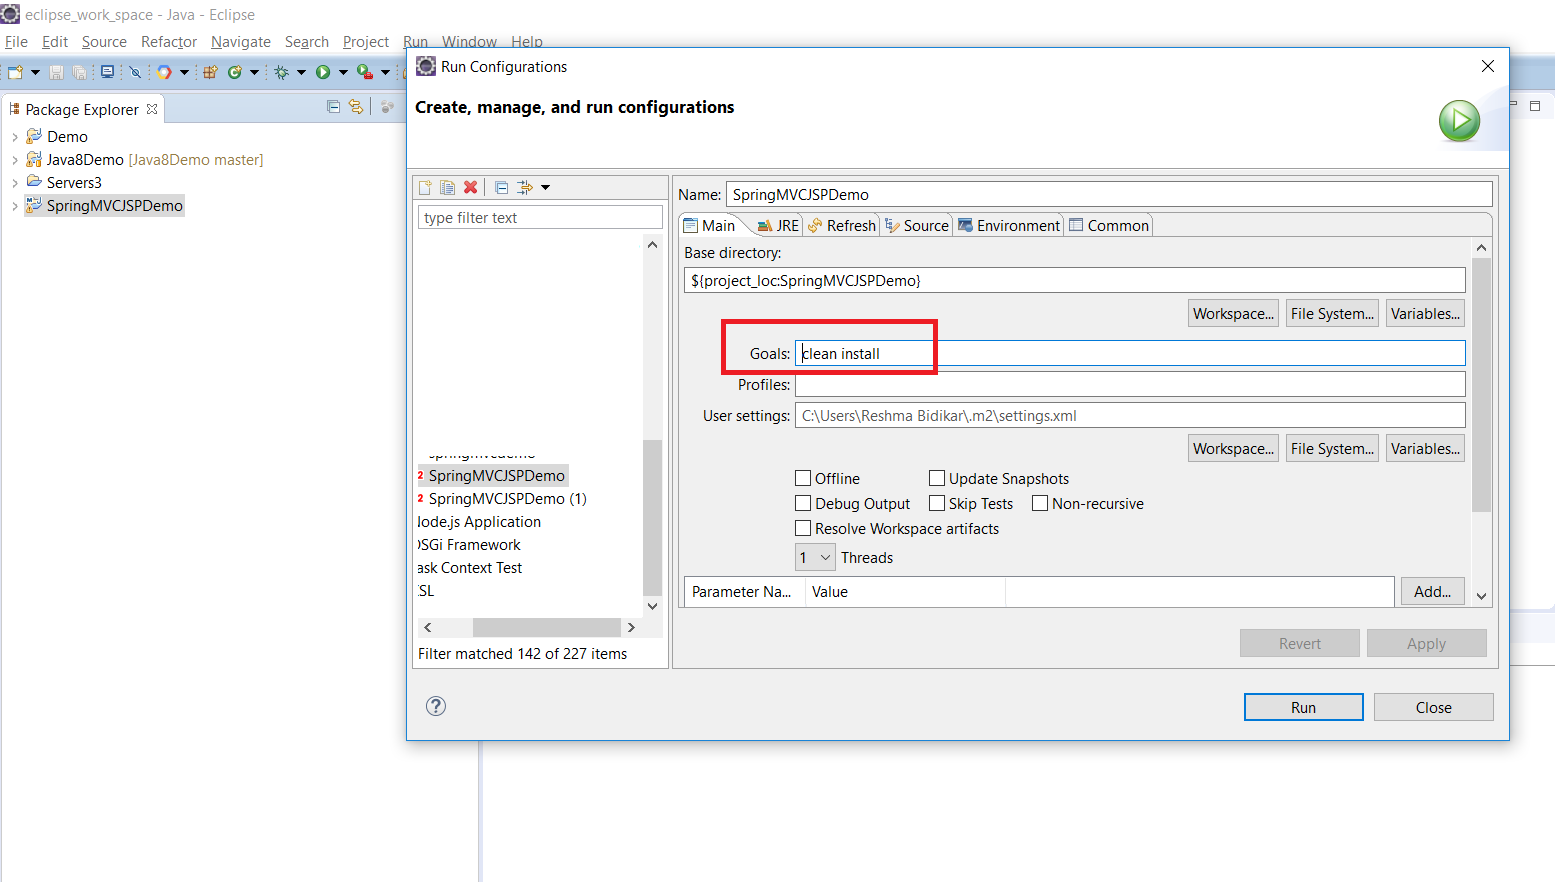
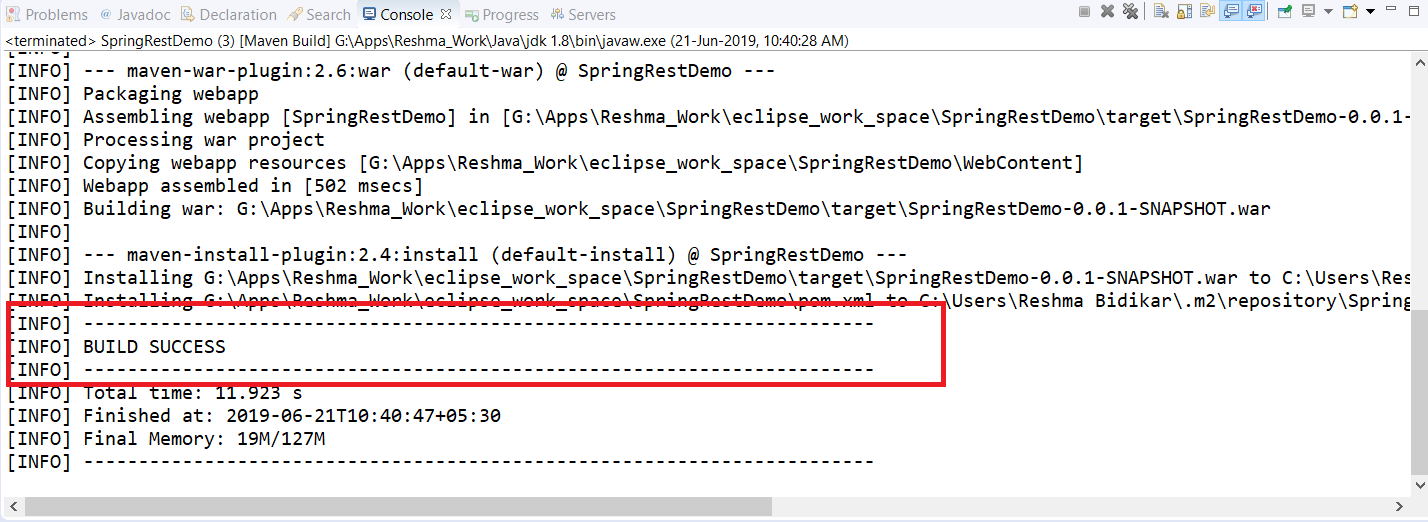
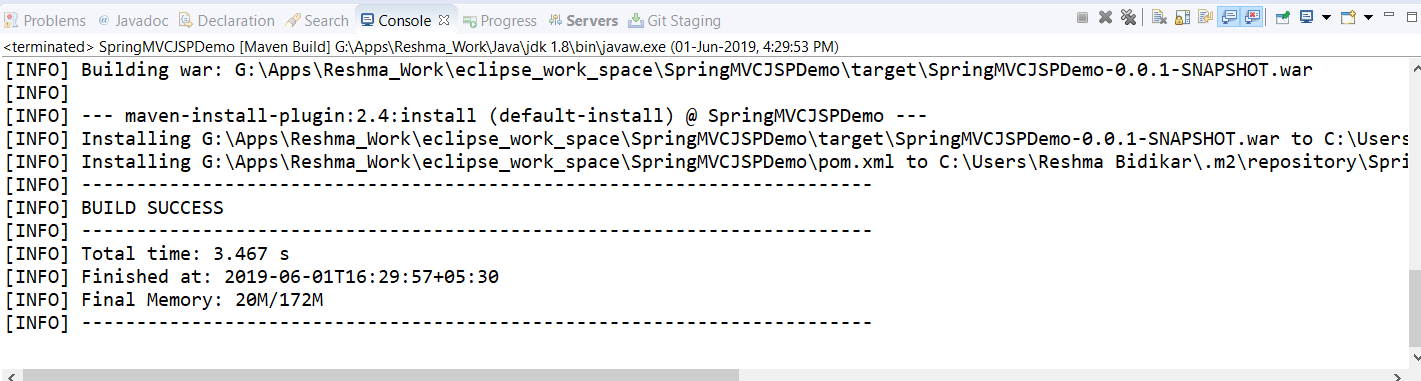
This will display a build success message as follows:
Test
You will need to have Tomcat setup in Eclipse. If you do not have Tomcat set up, refer to this blog post.
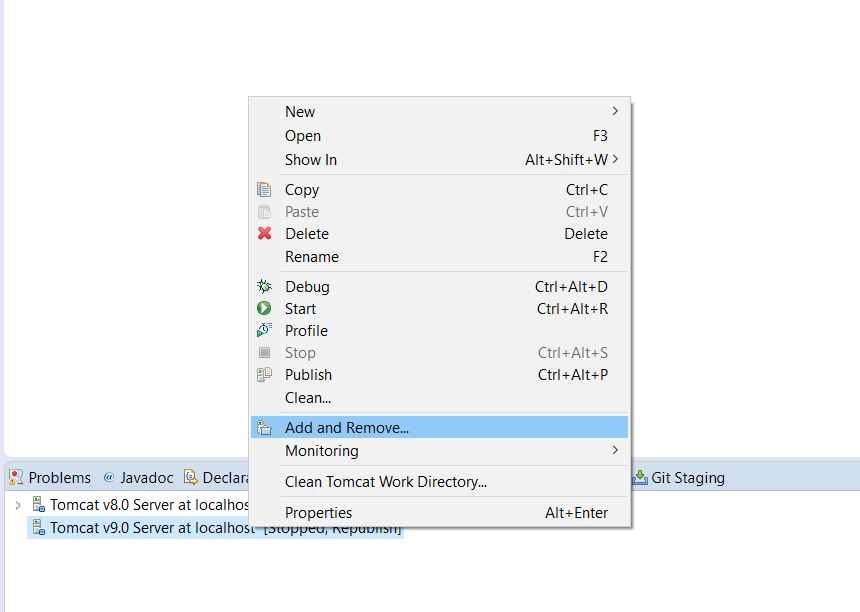
Step 1 - Right click on “Tomcat Server” at the bottom and click Add/Remove:
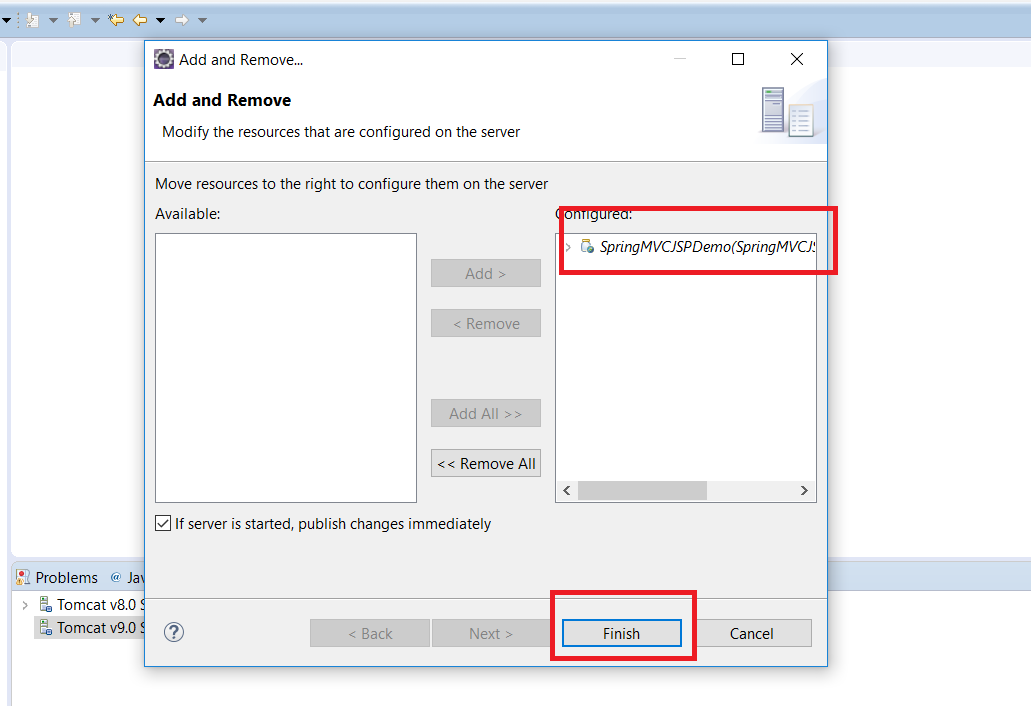
Step 2 - Select SpringMVCJSPDemo project and click “Add”:
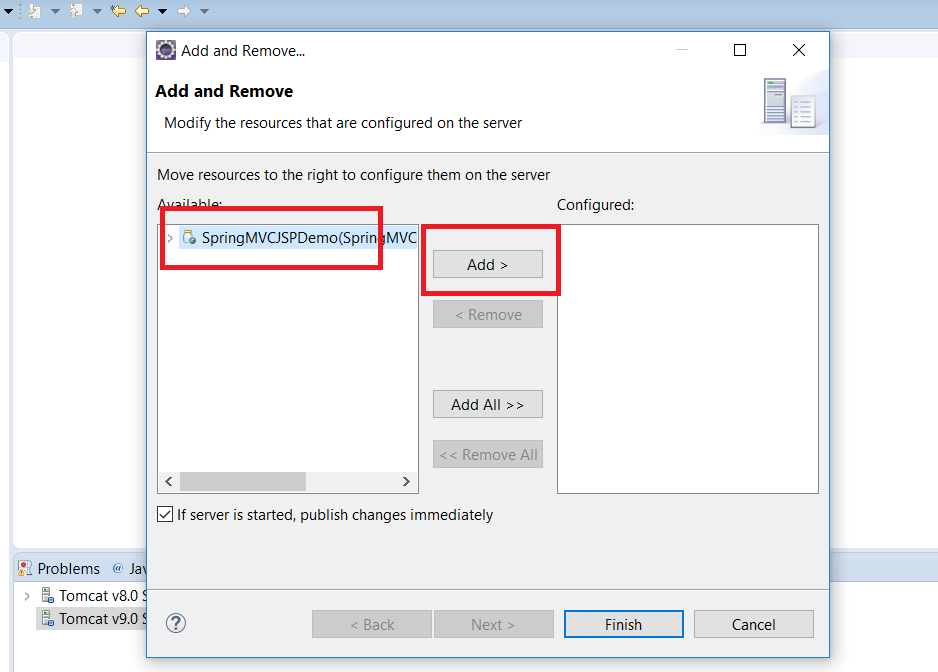
Step 3 - Click on Finish.
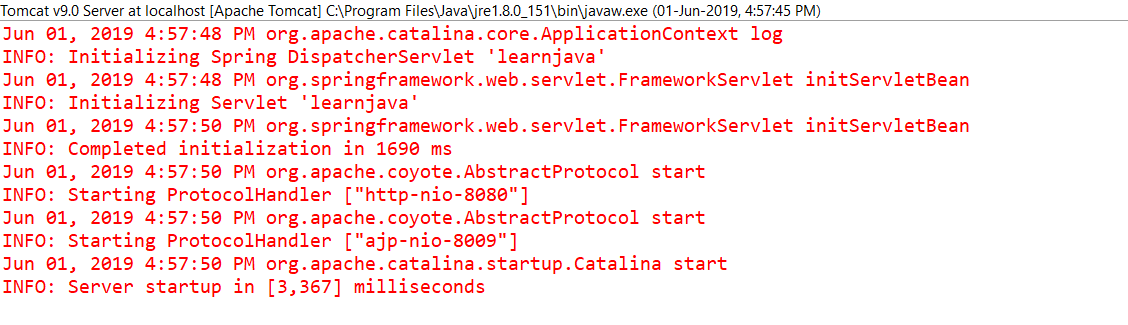
Step 4 - Right click on “Tomcat” and click on “Start”

If the server starts successfully, you should see a message similar to the following in the console:
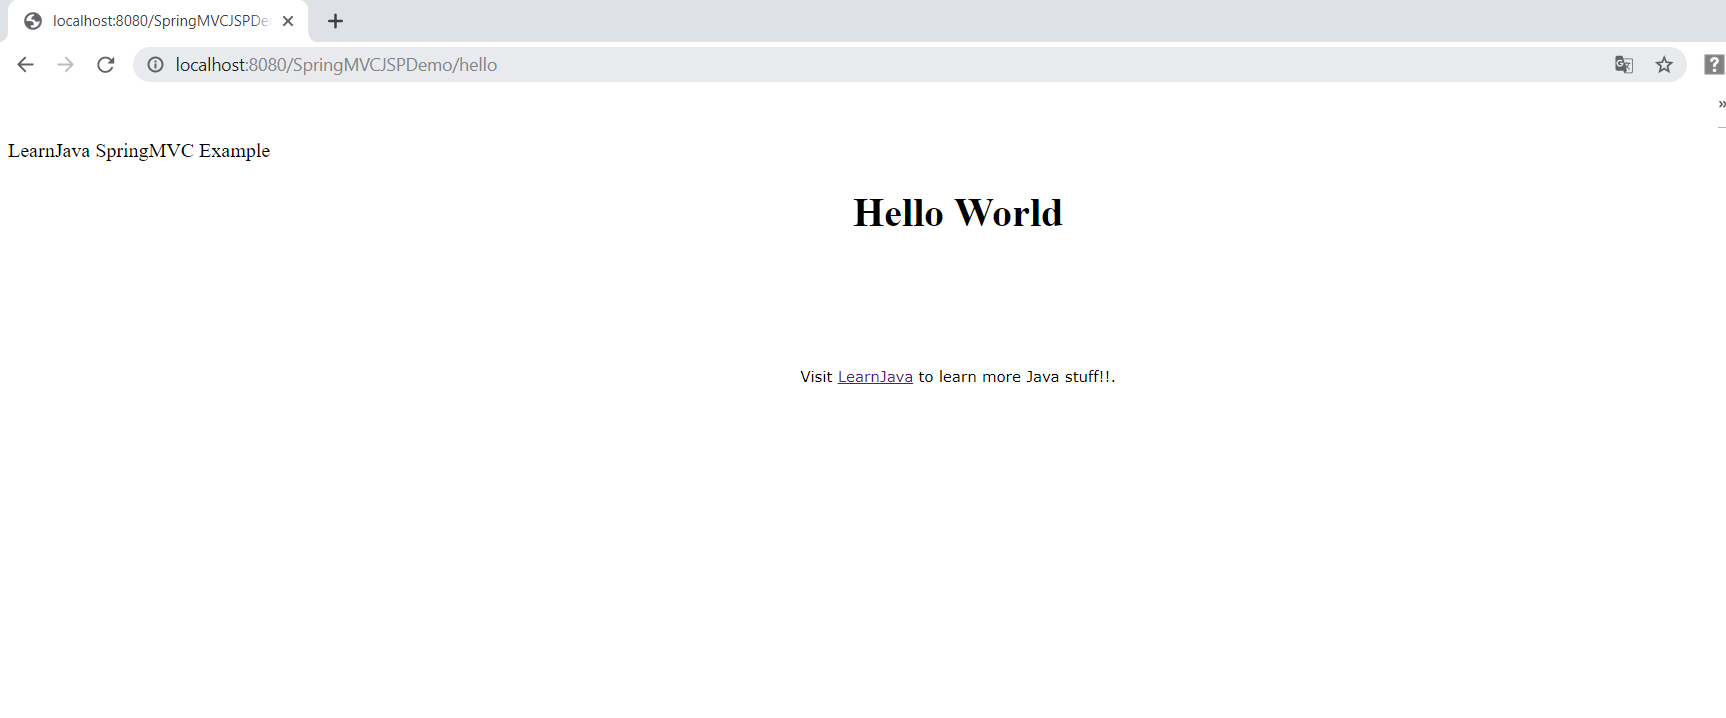
Step 5 - Open a browser and type http://localhost:8080/SpringMVCJSPDemo/hello. This will display the following:
You can download the complete source code from the Github repository here.